Storage Hunters Roblox Guide: How to Play, Loop and Tips
Updated 2026-09-02 · Last verified 2026-09-05 · Roblox Storage Hunters: Open World
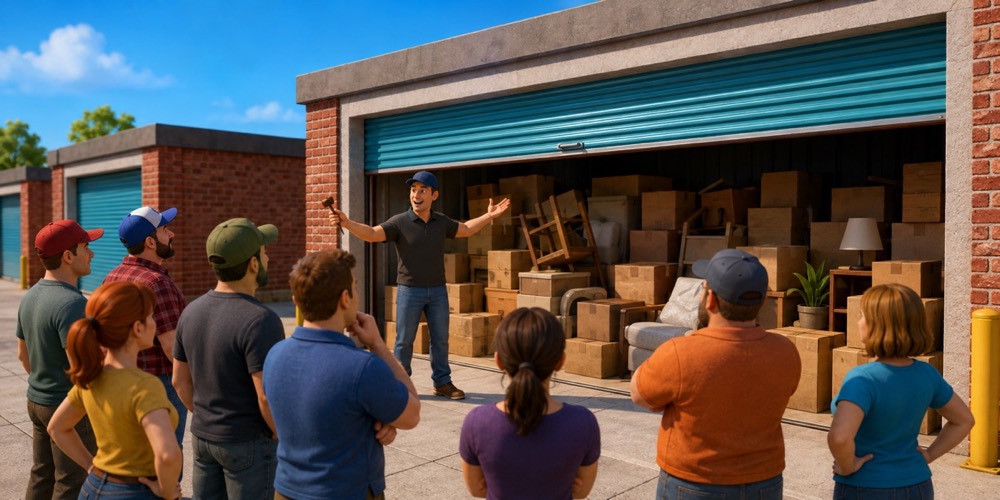
Storage Hunters: Open World is a Roblox game about joining auctions, winning storage garages, collecting the items inside and selling them from your own shop for profit. Money and Diamonds then go into upgrades, staff, plot expansion and higher-value areas.
The three most-searched questions, answered from the wiki:
- How do you play? Find a garage you can enter, press Bid while the marker is inside the green zone, collect the loot, carry it to your plot, sell it to customers. Repeat.
- Can you trade in Storage Hunters? The Fandom wiki does not document any player-to-player trading system. The only documented way to turn items into value is selling them to NPC customers at your shop.
- How do you increase the bid zone size? Accessories with the Bid Zone Width stat widen the green zone on the bid bar (documented ranges are 11%–38%, 15%–75% and 30%–75% by accessory tier). Bid Arrow Speed slows the cursor instead, and the Limited passive Steady Hand gives a chance that the zone after a missed bid is wider.
Quick start
| Step | What to do | Why it matters |
|---|---|---|
| 1 | Find an auction garage you can enter. | Auctions are the main way to get items. |
| 2 | Bid confidently, especially on high-bid lots. | Auctions rarely lose money; high bids guarantee high-value loot. |
| 3 | Collect the items inside the garage. | Items are the main source of money and collection progress. |
| 4 | Bring items back to your plot or shop. | Your shop is where items are sold to customers. |
| 5 | Sell items, earn money, keep improving. | Money and Gems are needed for long-term progression. |
Core gameplay loop
| Part | Description |
|---|---|
| Auction | Join a garage auction and bid against NPCs. |
| Loot | After winning, pick up the items inside the garage. |
| Transport | Move the items back to your shop or plot (vehicles help here). |
| Sell | Place items for customers and sell them for profit. |
| Progress | Spend money and Diamonds on Upgrades, Staff, plot expansion and other systems. |
Auctions
Each garage has a Net Worth requirement, so start low and work upward. The starter Scrap Garage in the Junk Yard needs $0 Net Worth, the Back Alley Shop Front needs $750, the first Power Plant garage needs $7,500 and the Farmyard Stable Garage needs $10,000. Full list on the areas page.
During an auction, press Bid while the moving marker is inside the target zone. The zone is usually green, but its colour and behaviour can change depending on the garage and possible mutations. NPCs keep raising the price, so timing matters. Winning an auction for too much money can still be a loss if the items inside are not valuable enough.
Auction perks only work once bidding is underway. They come from quests or the shop (bought with Diamonds).
| Perk | Effect |
|---|---|
| Calculator | Rough estimate of how much profit (or loss) is sitting inside the container. |
| X-Ray Vision | See through crates and boxes, revealing every item inside before you bid. |
| Kick | Removes one NPC bidder. Their current bid still holds the lot, so you must place a new bid to take it over. |
Selling items
After winning, bring items back and sell them from your shop. Higher item value, rare finds and useful mutations raise profit a lot: for example Corrupted multiplies sell price by 6 and Chrome by 12, which answers the common "chrome vs corrupted" question.
Customers may offer below or above fair value, so read the offer instead of accepting everything. Later, the Shop Assistant (100 Diamonds to hire) can auto-accept offers within a threshold you set, adjustable from -50% to +200%.
Diamond tips from regular and Celebrity customers are soft-capped at 65 per hour; a Mint mutation's guaranteed Diamond tip does not count against that cap.
Early progression priorities
| Priority | Why it helps |
|---|---|
| Learn auction timing | Better timing wins auctions without wasting money. |
| Increase carrying and selling capacity | More space means fewer interruptions while collecting and selling. |
| Save and spend Diamonds carefully | Gems are needed for the major progression systems. |
| Check item values | Knowing what is valuable decides what to keep, sell or prioritise. See items. |
| Watch for quests | Quests reward items, perks, money or progression help. |
Important systems
| System | What it does |
|---|---|
| Diamonds | Core progression currency for upgrades, plot expansion, staff upgrades and Luck Drinks. Earned from customer tips, diamond safes and vaults, quests and collections, or Robux. |
| Upgrades | Permanent shop improvements: Inventory Space, Selling Space, Advertising, Tip Jar, Price Tags, Trophy Capacity, Storage Box Space, Plot Capacity, Second Floor, Celebrity Customers. |
| Staff | The Shop Assistant manages offers and is upgraded with Diamonds. |
| Mutations | Item modifiers that increase or change item value. |
| Items | Collectibles from auctions and special sources, tracked per area in the Collection Book. Completing an area's book adds base Luck. |
| Museum | Display valuable items for a Luck boost and periodic visitor gifts (money, Diamonds or Luck Drinks). One gift per display at a time. |
| Certificates | Certificates of Authenticity drop from auction containers and are consumed at the Authenticator to give an accessory one permanent random bonus stat; see certificates. Item grading is a separate Shopping Mall service. |
Storage boxes hold extra items; the Huge mutation raises a box's capacity by 50%, Tiny cuts it by 50%.
Basic controls
| Action | Key |
|---|---|
| Movement | W, A, S, D |
| Interact / Bid | E |
| Jump | Spacebar |
| Sprint | Shift |
Beginner tips
- Auctions are almost never a losing deal. Bid with confidence, and watch for high-bid lots: the value inside is guaranteed to be extremely high.
- Spend Diamonds on progression instead of hoarding them.
- Upgrade capacity as soon as inventory, selling space or plot space slows you down.
- Pay attention to rare items and mutations; they can be worth far more.
- Keep checking quests for rewards.
- You can relocate your entire plot from the Settings menu.
- Every friend in your current server gives you a base +5% Luck. The Connected accessory stat adds a further random Luck bonus per friend; the roll range and stack limit are not documented yet.
- Favorite an item in your inventory and the game warns you before you accidentally sell it.
- Check codes before spending anything.
Lost items
The wiki keeps no bug or glitch list, so known bugs are not documented yet. "Lost" in Storage Hunters is an item category: 29 map collectibles found around the world rather than in auction pools, tracked with the wiki's interactive map. Base values come from the item data module.
| Item | Base value | Location |
|---|---|---|
| Book | $6.30 | Map Collectible |
| Key | $0.38 | Map Collectible |
| Bluetooth Speaker | $4.62 | Map Collectible |
| Camera | $5.77 | Map Collectible |
| Classic Phone | $7.69 | Map Collectible |
| Jade Bracelet | $7.69 | Map Collectible |
| Leather Back Pack | $6.92 | Map Collectible (Back accessory) |
| Marble Vase | $11.54 | Map Collectible |
| Painting | $5.77 | Map Collectible |
| Professional Camera | $55.77 | Lost & Found |
| Lava Lamp | $9.62 | Map Collectible |
| Suitcase | $4.62 | Map Collectible |
| LED Flashlight | $3.84 | Map Collectible |
| Acoustic Guitar | $34.61 | Map Collectible |
| Circular Saw | $21.15 | Map Collectible |
| Flip Cellphone | $5.77 | Map Collectible |
| Typewriter | $19.23 | Map Collectible |
| Digital Alarm Clock | $3.83 | Map Collectible |
| Bonsai | $17.31 | Map Collectible |
| Watering Can | $7.69 | Map Collectible |
| Cow Milker | $42.31 | Map Collectible |
| Butter Churn | $30.77 | Map Collectible |
| Branding Iron | $23.08 | Map Collectible |
| Scythe | $28.85 | Map Collectible |
| Cow Bell | $6.92 | Map Collectible |
| Beehive | $42.31 | Map Collectible |
| Saddle | $100 | Map Collectible |
| Horseshoe | $5.38 | Map Collectible |
| Needle | $0.25 | Map Collectible |
Where to go next
- Auctions for gavels, bid recovery and container types.
- Upgrades for every shop upgrade and its levels.
- Mutations for all value multipliers.
- Safes and fishing for side income.
- Power Plant, weapons, base house and shop for mid-game systems.
Frequently asked questions
What is bid zone width in Storage Hunters?
Bid Zone Width is an accessory stat that widens the green target zone on the auction bid bar, making it easier to press Bid on time. Documented ranges are 11%-38%, 15%-75% and 30%-75% depending on accessory tier. Bid Arrow Speed is a separate stat that slows the moving cursor instead of widening the zone.
What are the best Storage Hunters Roblox tips?
Bid confidently: auctions are almost never a losing deal, and high-bid lots guarantee extremely high value inside. Spend Diamonds on progression instead of hoarding them, upgrade capacity as soon as inventory or plot space slows you down, and Favorite items so the game warns you before an accidental sale. Every friend in your server also gives a base +5% Luck.
Can you trade in Storage Hunters?
No. The Fandom wiki does not document any player-to-player trading system at the time this page was last verified. The only documented way to turn items into value is selling them to NPC customers at your shop. Customers may offer below or above fair value, so read each offer instead of accepting everything.
Chrome vs Corrupted, which is better in Storage Hunters?
Chrome is the stronger mutation: it multiplies an item's sell price by 12, while Corrupted multiplies it by 6. Both raise profit far above a plain item, so either is worth keeping and selling rather than dumping. Mutations affect storage too, with Huge raising a box's capacity by 50% and Tiny cutting it by 50%.
How many lost items are there in Storage Hunters?
There are 29 Lost items. Lost is an item category rather than a bug list: these are map collectibles found around the world instead of in auction pools, and they are tracked with the wiki's interactive map. Base values run from the $0.25 Needle up to the $100 Saddle, with the Professional Camera coming from Lost & Found.